Ever spent hours mounting solar panels only to discover your system won’t power on due to a flimsy connector? You’re not alone. I once fried an entire string of panels because I reused cheap, mismatched connectors—thinking “it’ll hold.” It didn’t. Solar panel connectors and wiring might seem like minor components, but they’re the lifeline of your renewable energy setup. Get them wrong, and you risk inefficiency, fire hazards, or total system failure. In this guide, we’ll break down exactly how to choose, install, and maintain these critical parts—so your home improvement project powers forward safely and efficiently.
Table of Contents
- Why Solar Panel Connectors Matter in Home Improvement
- Step-by-Step Installation Guide
- Top Best Practices for Reliable Connections
- Real-World Case Study: What Happens When You Cut Corners?
- Frequently Asked Questions
Key Takeaways
- MC4 connectors are the industry standard—never mix brands without verifying compatibility.
- Poor wiring can cause up to 10% energy loss, per NREL studies.
- Always torque connections to manufacturer specs—finger-tight isn’t enough.
- Water ingress from faulty seals is a leading cause of premature failure.
Why Solar Panel Connectors Matter in Home Improvement
In the world of home solar upgrades, most DIYers obsess over panel wattage or inverter specs—but overlook the humble connector. Yet, according to the National Renewable Energy Laboratory (NREL), faulty interconnections account for nearly 25% of early-stage photovoltaic system failures. These tiny components handle high DC voltages (often 600V–1,000V) and must endure decades of UV exposure, temperature swings, and moisture. A single loose pin can create arcing, heat buildup, or open circuits that silently drain your ROI.
Step-by-Step Installation Guide
1. Choose Compatible Components
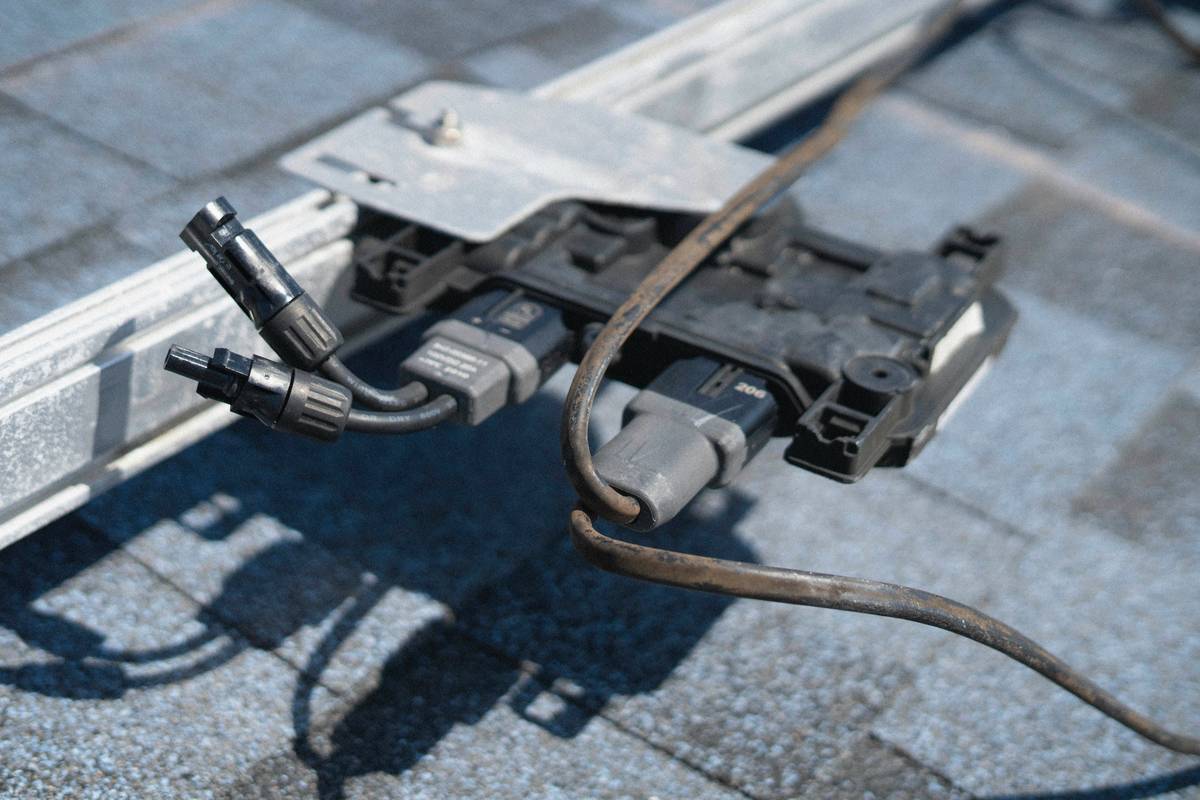
Stick with MC4 connectors—the de facto standard since 2011. Ensure both male and female ends are from the same manufacturer or explicitly rated as cross-compatible. Mixing brands risks poor contact resistance, leading to hot spots. Verify wire gauge matches your system’s amperage (typically 10 AWG for residential strings).
2. Strip and Crimp Correctly
Strip insulation precisely to the connector’s specified length (usually 8–10 mm). Use a ratcheting crimp tool—not pliers—to compress the terminal onto the wire. A bad crimp = intermittent connection. Test pull strength: it should withstand 50+ lbs without wire slippage.
3. Seal and Secure
Slide the connector housing over the crimped terminal before final assembly. Engage the locking tabs fully—you should hear a distinct “click.” Then, use UV-resistant cable ties or conduit brackets to eliminate strain on the joint. Loose wires whipping in the wind? That’s a future failure point.
Top Best Practices for Reliable Connections
- Torque matters: Use a calibrated torque screwdriver (typically 1.5–2.5 Nm). Under-torqued = loose; over-torqued = cracked housing.
- Inspect annually: Look for discoloration, melting, or corrosion. Clean with isopropyl alcohol if dirty.
- Avoid daisy-chaining: Never connect more than two MC4s together without a combiner box—this violates NEC Article 690.
- Beware knockoffs: Counterfeit connectors flood online marketplaces. Buy only from authorized distributors or directly from brands like Stäubli or Amphenol.
Real-World Case Study: What Happens When You Cut Corners?
A homeowner in Arizona installed a 6 kW rooftop array using generic “MC4-compatible” connectors bought from a discount retailer. Within 14 months, three junctions overheated during summer peak loads, melting insulation and tripping the DC isolator. Post-failure analysis by a certified PV technician found contact resistance 4x higher than spec—confirming poor metallurgy. The fix? Full rewiring with genuine Stäubli MC4s. Total cost: $1,200 plus lost generation. Had they invested in quality solar panel connectors and wiring upfront (as recommended by NREL’s PV reliability guidelines), this was entirely avoidable. Learn more about standards at the Solar Energy Industries Association.
Frequently Asked Questions
Can I reuse old solar panel connectors?
Only if they’re undamaged, from a reputable brand, and haven’t been exposed to extreme heat or moisture. Most manufacturers recommend against reuse due to spring fatigue in the contact pins.
What’s the difference between MC4 and older MC3 connectors?
MC4 features a positive locking mechanism requiring a tool to disconnect—critical for safety during maintenance. MC3 lacks this, risking accidental disconnection under load. MC3 is obsolete and not code-compliant for new U.S. installations.
Do I need special tools for solar connectors?
Yes. A proper MC4 crimping tool, insulation stripper, and torque driver ensure safe, code-compliant installs. Skipping these invites reliability issues.
How do I know if my wiring is undersized?
If voltage drop exceeds 1.5% across your string, your wire gauge is too small. Use an online PV voltage drop calculator—input your distance, current, and ambient temperature.
Where can I get professional help?
If you’re unsure, consult a licensed solar installer. At ATT Advanced Wireless Service, our technicians specialize in renewable energy integration. Review our Privacy Policy before sharing system details, and don’t hesitate to contact us for a wiring audit.
Remember: your solar investment shines brightest when every connection holds strong. Don’t let a $5 connector dim your decades-long clean energy payoff.